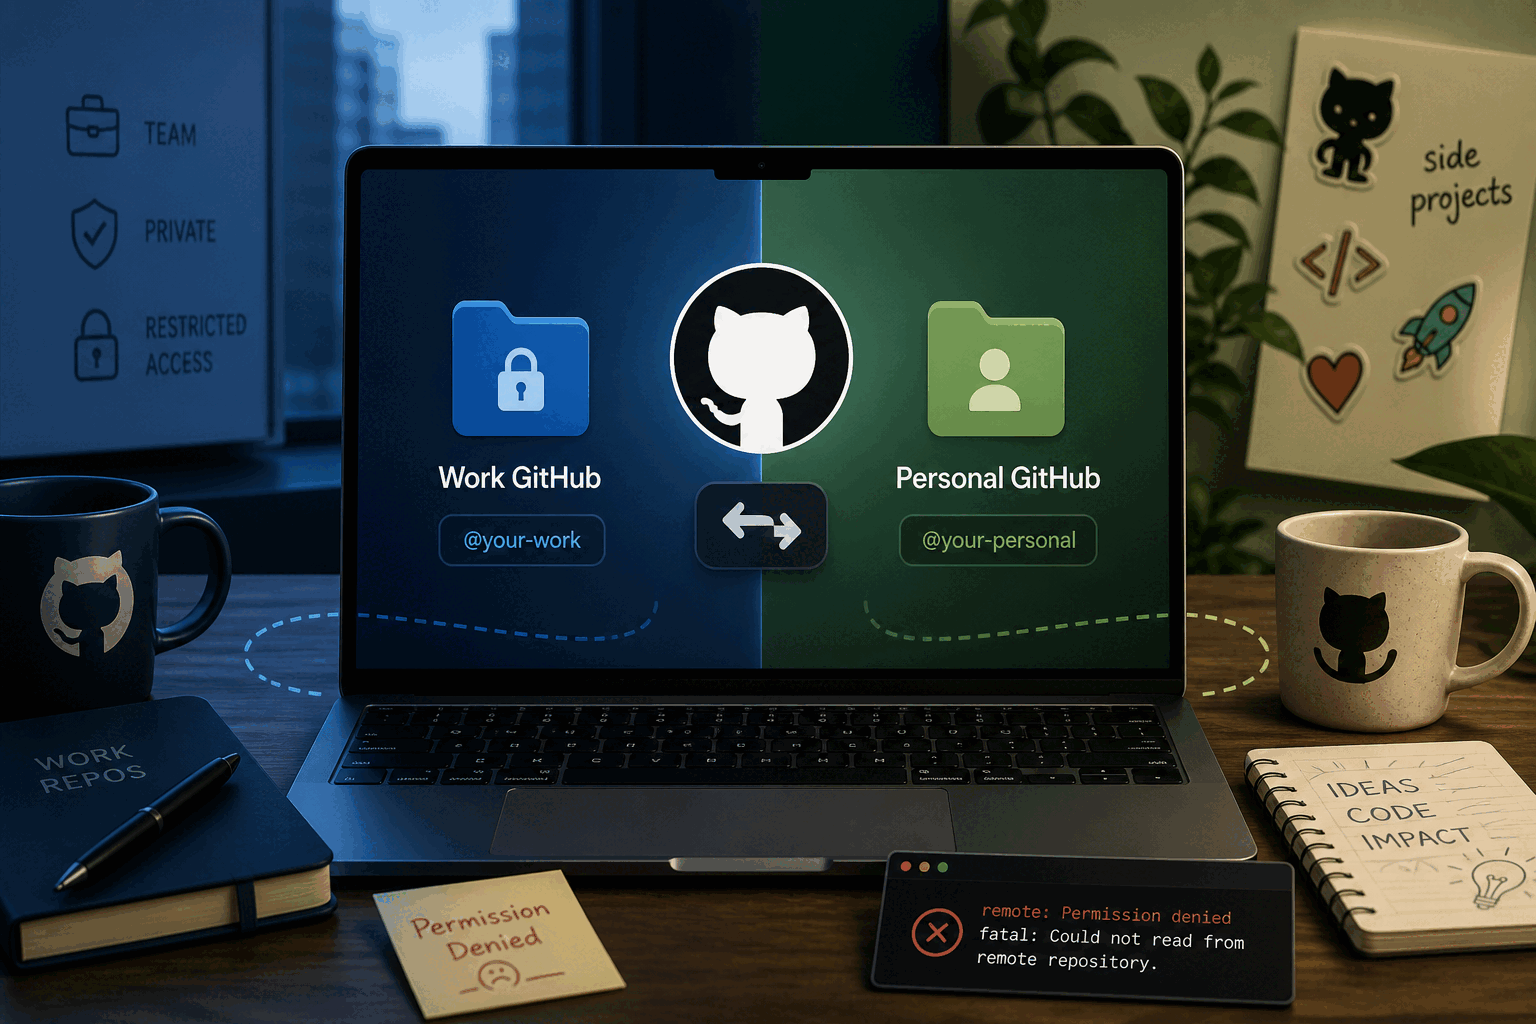
Managing Multiple GitHub Accounts on One Mac
Have you ever tried to use two different GitHub accounts on the same computer?
If you’re like most developers, you probably have a Work GitHub account for official repositories and a Personal GitHub account for side projects or open-source contributions. However, getting them to coexist peacefully on a single Mac can feel like a nightmare. Usually, only one ID works at a time, and you end up facing annoying “Permission Denied” errors when you try to push code to the wrong place.
The Goal
We want a frictionless setup where you can easily use your Work account for work repos, and your Personal account for personal repos. It needs to work seamlessly in the Terminal, as well as in IDEs like Android Studio, IntelliJ, and VS Code; no manual switching or logging in and out should be required.
Here is the step-by-step guide to setting this up using SSH Aliases and Local Git Configs.
The Strategy
The secret to this setup is separating Authentication (how you connect to GitHub) from Identity (the email address attached to your commits).
We will configure your system so that your Work account is the global default. When you want to work on a personal project, you simply use a custom “Alias URL” that tells your computer to use your personal SSH key instead.
Step 1: Generate Your SSH Keys
You need two separate SSH keys, one for each account.
- Generate your Work key (if you don’t have one already):
ssh-keygen -t ed25519 -C "work@company.com" -f ~/.ssh/id_rsa_work - Generate your Personal key:
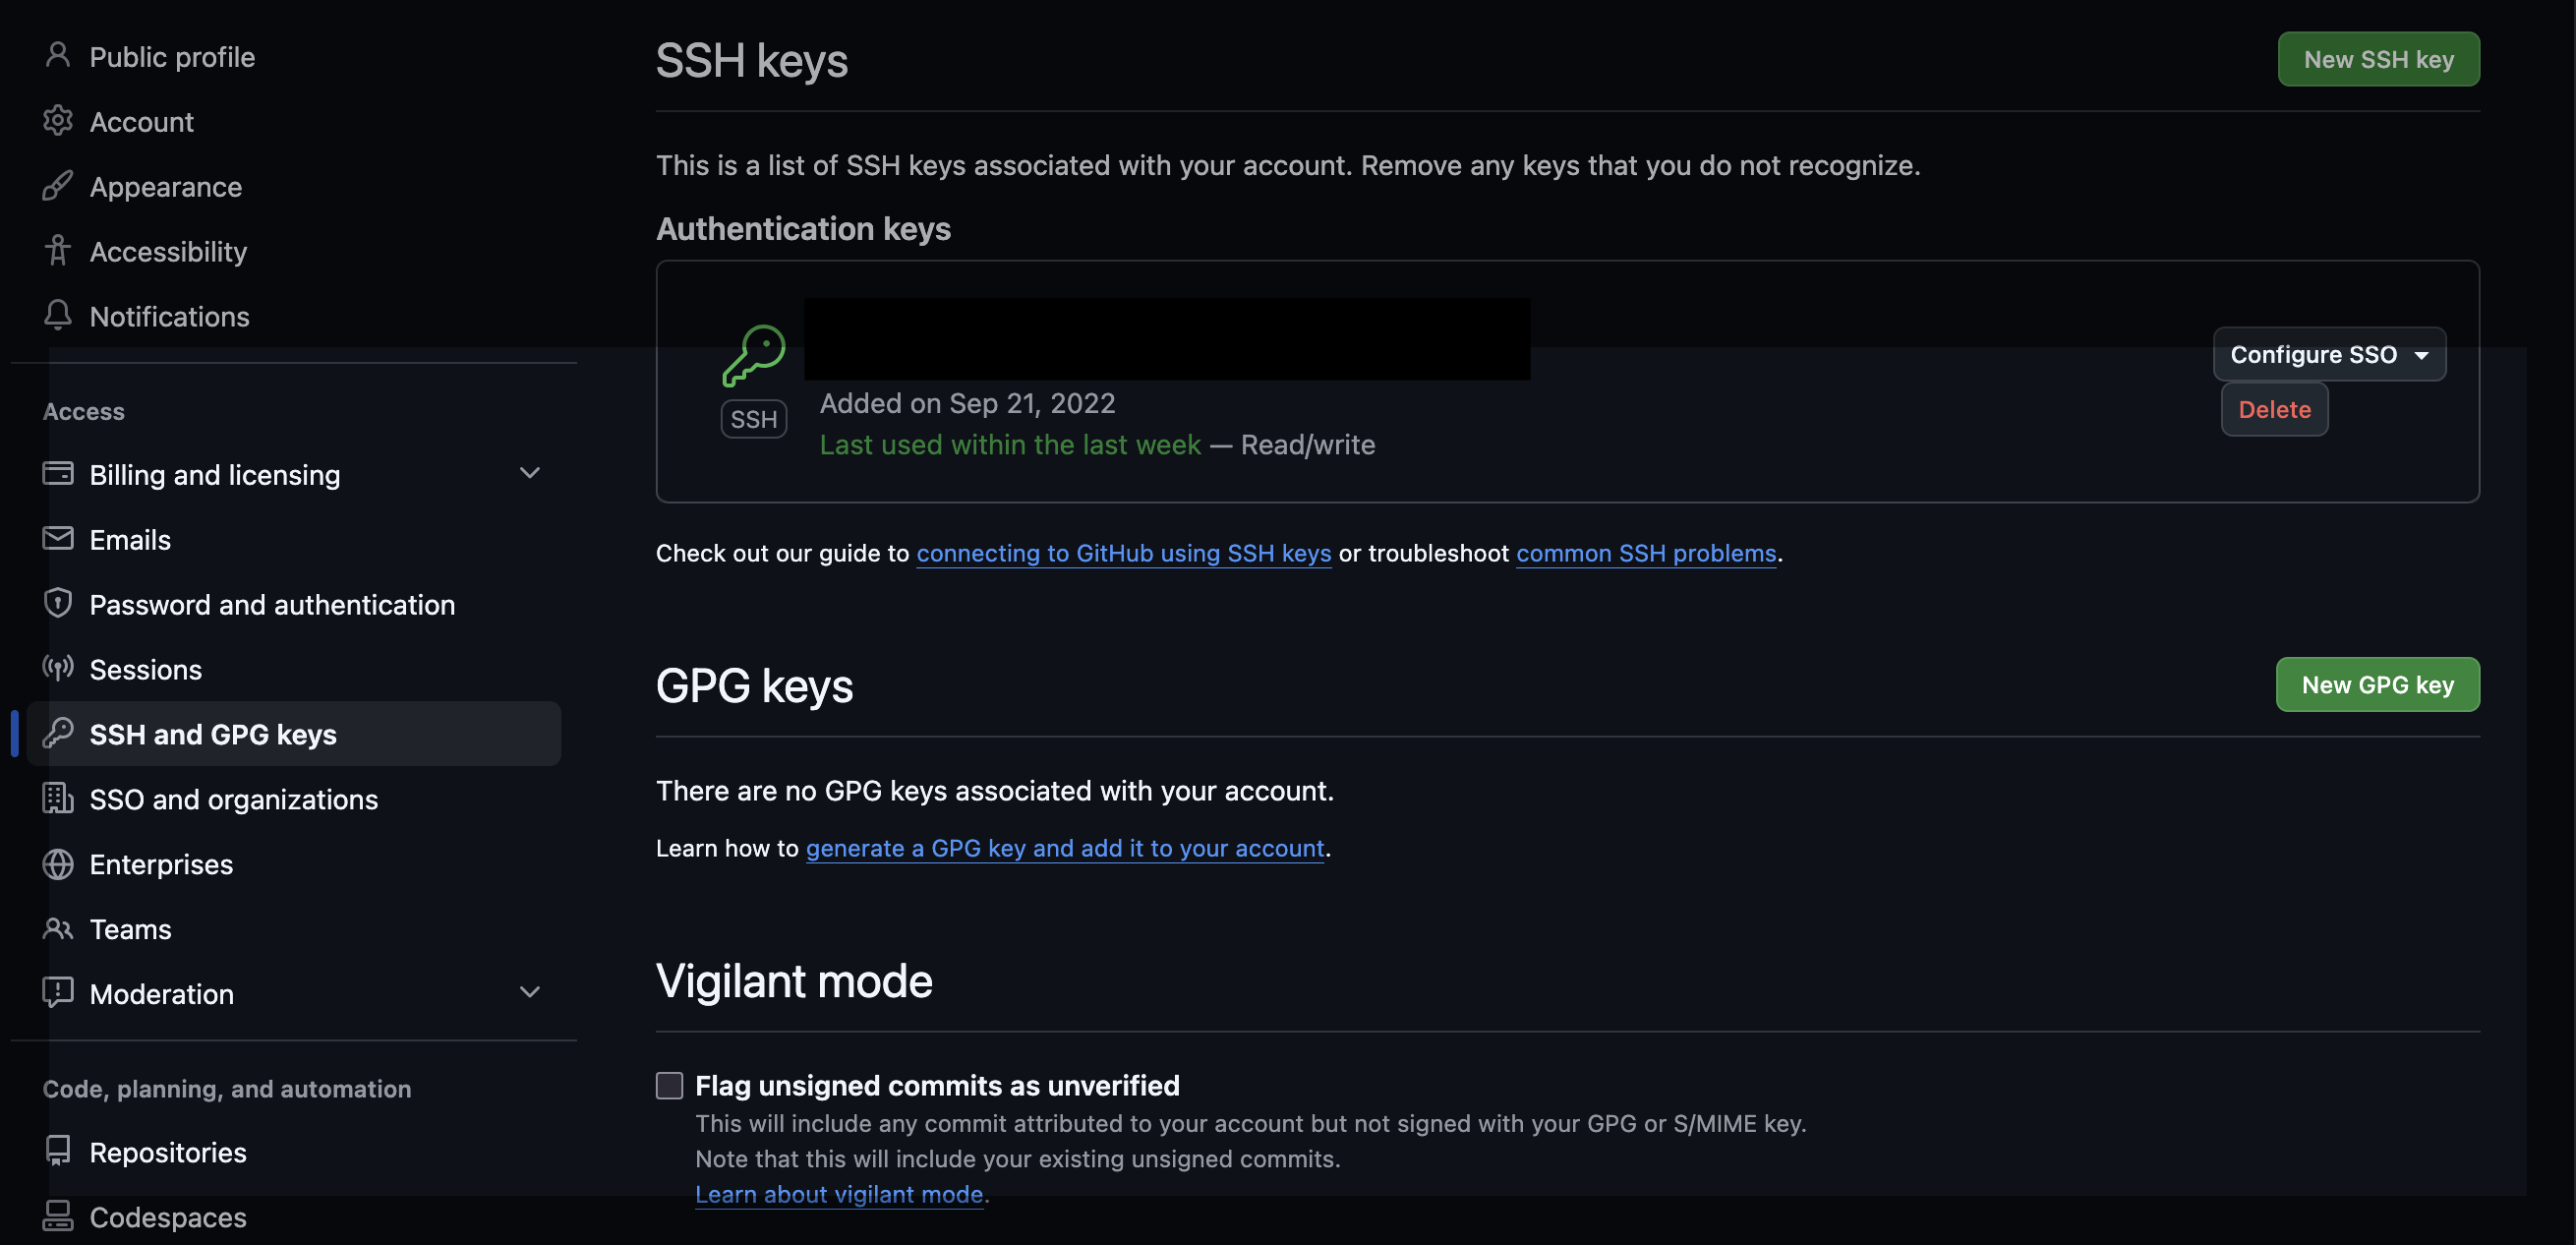
ssh-keygen -t ed25519 -C "personal@email.com" -f ~/.ssh/id_rsa_personal - Copy the public keys (
.pubfiles) and add them to their respective GitHub accounts under Settings > SSH and GPG keys.
Step 2: The SSH Config Magic
This is where we tell your OS how to route the traffic. We will use the standard github.com for work, and create a custom alias (e.g., github.com-personal) for your personal account.
Open your SSH config file:
nano ~/.ssh/config
Paste the following configuration. (Pay close attention to the User and IdentitiesOnly lines!)
# --- DEFAULT (WORK) ---
Host github.com
  HostName github.com
  User git
  PreferredAuthentications publickey
  IdentityFile ~/.ssh/id_rsa_work
  UseKeychain yes
  AddKeysToAgent yes
  IdentitiesOnly yes

# --- EXCEPTION (PERSONAL) ---
Host github.com-personal
  HostName github.com
  User git
  PreferredAuthentications publickey
  IdentityFile ~/.ssh/id_rsa_personal
  UseKeychain yes
  AddKeysToAgent yes
  IdentitiesOnly yes
Step 3: Setting Your Git Identity
SSH handles access (pushing/pulling), but Git handles who wrote the code. Because work is your default, set your global Git config to your work email:
git config --global user.name "Your Name"
git config --global user.email "work@company.com"
For your personal projects, you will simply set the email locally inside that specific repository folder.
How to Use It in Practice
Because we created an SSH Host alias for your personal account, the way you interact with remote URLs changes slightly.
For a Newly Cloned Repo
Work Repos: Clone normally.
git clone git@github.com:company/work-repo.git
Personal Repos: Modify the URL to use your alias instead of standard github.com.
- Standard URL:
git@github.com:username/my-repo.git - What you should type:
bash
git clone git@github.com-personal:username/my-repo.git
Crucial Last Step: Once cloned, immediately navigate into the personal repo and set your personal email so your commits map correctly on GitHub:
cd my-repo
git config user.email "personal@email.com"
For an Existing Repo
If you already have a personal repository on your machine, you just need to update its remote URL to point to your new SSH alias:
cd existing-repo
git remote set-url origin git@github.com-personal:username/existing-repo.git
git config user.email "personal@email.com"
Once the remote URL is updated, Git will naturally route traffic through the correct SSH key, and your IDEs (like Android Studio or VS Code) will pick it up automatically!
Common Pitfalls & Troubleshooting
During my own setup, I ran into a few annoying roadblocks. Check these common mistakes if you run into issues:
1. Terminal is picking up the wrong SSH key
The Issue: You try to test your connection (ssh -T git@github.com-personal) but it logs you in as your Work user.
The Solution: SSH agents love being “helpful” and will often offer your default key to GitHub first, ignoring your config file. GitHub accepts it and logs you into the wrong account. To fix this, ensure you add IdentitiesOnly yes to both host blocks in your ~/.ssh/config file. This forces SSH to strictly use the explicitly defined key.
2. Putting your GitHub Username in the SSH Config
The Issue: You get a “Permission denied (publickey)” error.
The Solution: When configuring ~/.ssh/config, the User must always be git. Do not put your personal GitHub username (e.g., User abhishekBansal). GitHub identifies who you are entirely by the SSH key you provide.
3. Commits pushed to personal repo show your Work ID
The Issue: You successfully pushed code to your personal repo, but looking at GitHub, the commits are linked to your office ID/avatar! Even weirder, your office ID isn’t even a collaborator on that repo.
The Solution: This is the classic “Authentication vs. Identity” trap. SSH gave you permission to push to the repo. However, because you forgot to run git config user.email in that specific folder, Git used your global work email to stamp the commits.
To fix this, you need to rewrite the commit history and force push:
- Set the correct email locally:
git config user.email "personal@email.com" - Rewrite the commits:
If it’s just the very last commit, run:
git commit --amend --reset-author --no-editPro-Tip: If you need to rewrite multiple commits, including the very first “Initial Commit” of the repository, standard rebase commands (like
HEAD~2) will throw an “invalid upstream” error. Instead, use the--rootflag to rewrite history from the very beginning:git rebase -i --root --exec "git commit --amend --reset-author --no-edit" - Force push to GitHub:
git push -f origin main
Bonus: The “Folder” Method
If you find yourself frequently forgetting to run git config user.email inside your personal repos, you can automate it by forcing all personal repos to live in a specific folder (e.g., ~/Personal).
You can add this to your ~/.gitconfig:
[includeIf "gitdir:~/Personal/"]
    path = ~/.gitconfig-personal
Then, create a .gitconfig-personal file containing your personal email. Whenever you are inside ~/Personal, Git will automatically switch your identity for you! However, if you prefer the freedom of keeping your repos wherever you want, the standard alias method above is all you need.