How to draw 2.6 million polygons on Android at 60 FPS: The First Render
In last article I explained a problem statement that required us to draw 2.6 million polygons in realtime at 60 FPS.
There are three ways to do this on Android in my understanding. First, using Android Canvas APIs, Second OpenGL, and Third the new Vulkan APIs.
This post is part 2 of 3 part article series.
- How to draw 2.6 million polygons on Android at 60 FPS: The Problem Statement
- How to draw 2.6 million polygons on Android at 60 FPS: The First Render
- How to draw 2.6 million polygons on Android at 60 FPS: The Optimizations
- Bonus How to draw 2.6 million polygons on Android at 60 FPS: Half the data with Half Float
Full working sample for this article series can be found on Github
In my opinion, Canvas is only good for low to moderate complex rendering. Although I have not tested I believe it will be very hard to achieve the desired rendering performance in Canvas APIs. Vulkan on the other hand might get a little more extreme. I would like to try that if OpenGL is not able to cater to my requirements. Also, I don’t know Vulkan at present :P.
Let’s go with OpenGL then. OpenGL requires a lot of boilerplate, to begin with, and explaining all of that is beyond the scope of this article series again. Fortunately, there are a lot of good tutorials available out there already. I will be building upon one of the learnopengles.com base code.
Here is the initial code that I imported from this tutorial. Although its a very good start, it’s still a lot of code in a single file. I refactored this code and did the following things.
- Abstracted away shader parsing and compilation in
Shaderclass - Decoupled drawing of objects from the renderer. We will call these objects
Layers. For exampleTriangleLayerandReflectivityLayer.Rendererwill delegate drawing toLayerand then it will manage its own drawing. - Added two-finger Pan and Zoom capabilities to
GLSurfaceView. It’s not perfect but works for this demo. - FPS Counter- will allow us to measure performance as we go along.
- Gave it some Kotlin love and converted all code to Kotlin
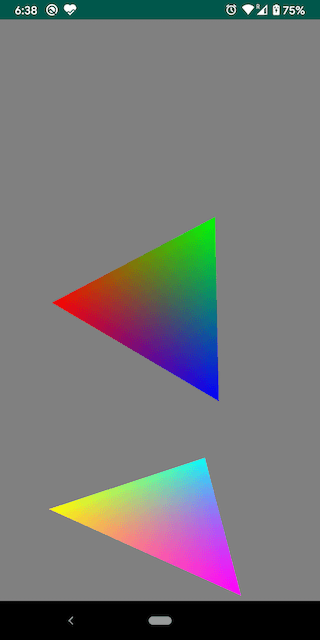
Here is complete change set. Here is how it looks before and after
 |
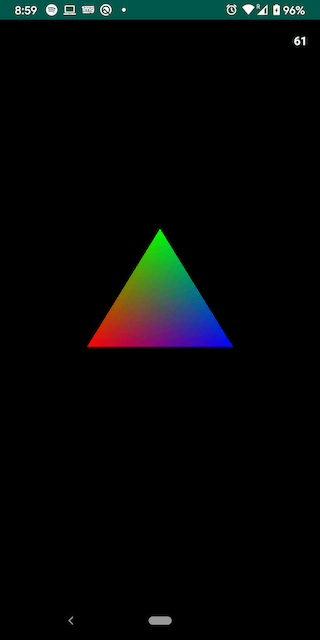 |
The single triangle is giving full 60FPS and the objective is to achieve the same with 2.6 million triangles as well. Since all the boilerplate is now setup we can start with Reflectivity rendering.
Our first objective is to render all triangles in proper shape on the screen. Let’s try and do exactly that.
I want to do our first rendering with a smaller data set, if everything goes well we will attempt to render the full Level 2 dataset. NEXRAD produce data in varied level of resolutions. I have a Level 3 dataset which contains 360 azimuth values and 422 gate values. This means we have a total of 360x420 (~151k) trapezoids or around ~300k triangles or ~1.8mn data points to work with.
OpenGL Data Format
Before we begin writing any code its important to understand how OpenGL accepts data. OpenGL accepts data in ByteBuffers. These buffers are passed on to GPU for rendering. A single buffer can contain multiple information like position information, color information, or any other custom information. We just need to specify how many bytes represent a single vertex in that byte buffer. A Vertex is a point(x, y, z) in 3 dimensions.
Generating Vertex Data
Figure out mesh size
Let’s start building a ByteBuffer which will store position and color information of all vertices. We will first build a FloatArray and then convert it to an OpenGL friendly ByteBuffer. To calculate Array size we need the following things
- Number of elements per vertex
- Total Number of vertices in Mesh
In OpenGL, a vertex has three coordinate components that are X, Y, and Z. Also, color is represented by three values that is R, G, and B. This means that we have 6 float values per vertex.
For the second point consider the following image and focus on point V3
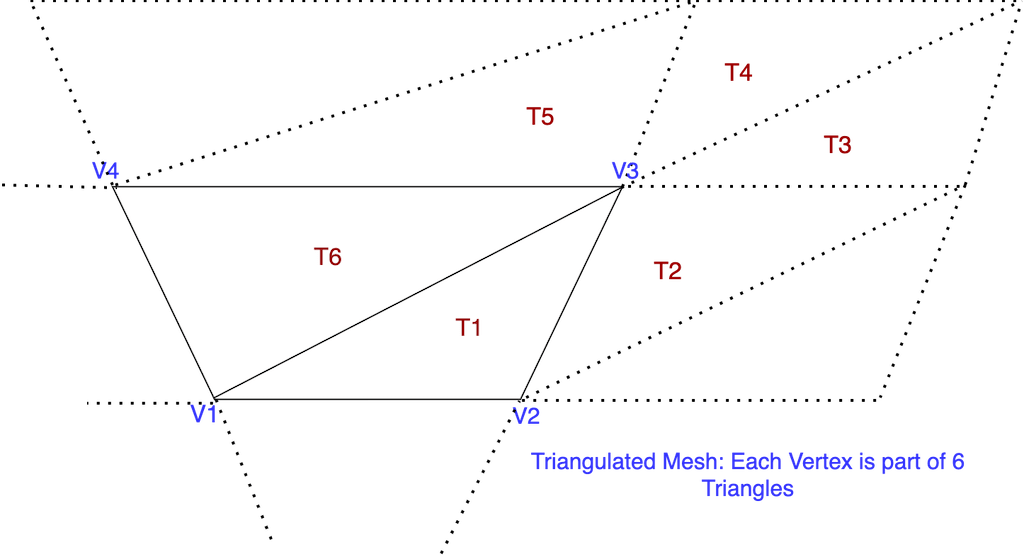
It’s apparent vertex V3 is part of 6 triangles, and when extrapolated for complete mesh, its true for all vertices in mesh except for boundary ones.
We now simply need to multiply number of gates and azimuth values to find total number of actual data points, and then, multiply this value with 6 * 6 to get total number of elements in FloatArray. Here is a code snippet thats doing that
// per vertex data = 3xyz + 3rgb
val perVertexElements = 3 + 3
// since we don't want go beyond last gate hence gate-1
val totalVertices = data.azimuth.size * (data.gates.size - 1)
// Each vertex is part of 6 triangles,
meshSize = totalVertices * perVertexElements * 6
val reflectivityMesh = FloatArray(meshSize)
To put this in the perspective of our current data set it becomes 360 x 421 x 6 x 6 = 5.46mn elements the array. Those GPUs better be fast!
Build the Mesh
Mesh is nothing but all the triangles combined. To build a mesh we will need to figure out the latitudes and longitudes of each vertex. Consider this diagram
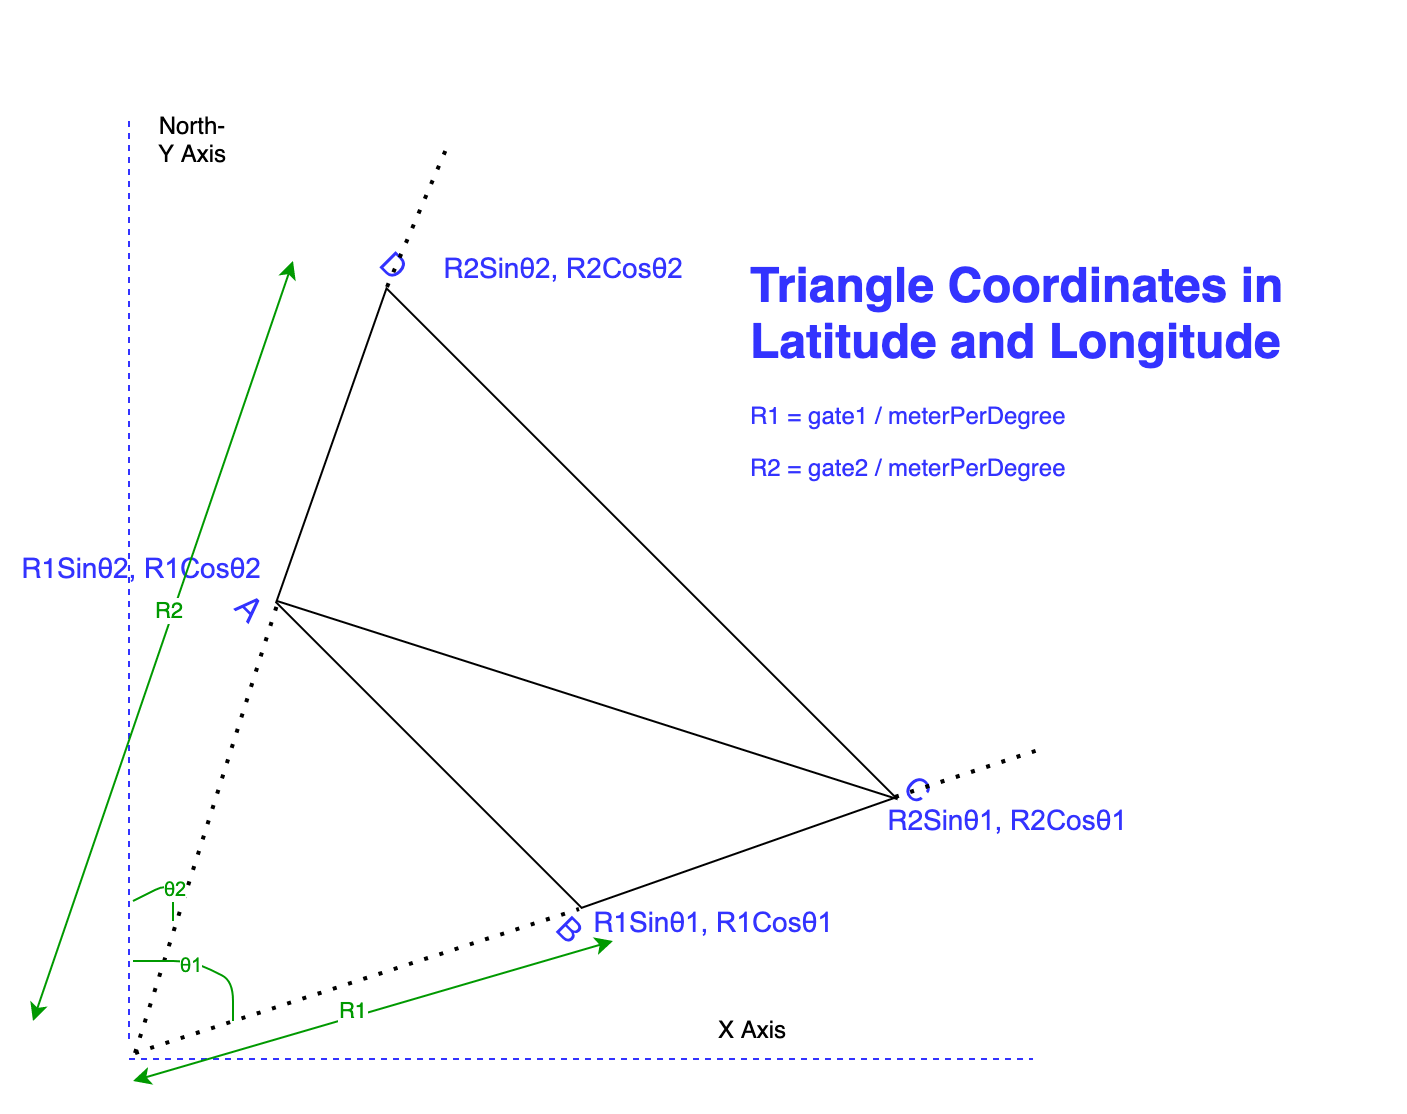
Azimuth values are angles of data points from north direction i.e. Y-Axis. Its a matter of simple trigonometry to figure out the X and Y coordinates of each data point after that. The z coordinate is always 0.0 because our drawing is a planner or 2D. R1 and R2 are two interesting variables here. In order to calculate the distance in longitude we divide it by the approximate value of the total number of meters per degree. This gives us a good approximation of distance along longitude and latitude. We are doing this in case we want to overlay this render over the actual map.
Except for coordinate we also need to calculate the color for a given value of reflectivity. Here is a simple mapping function which will do the trick for us for now
private fun getColor(reflectivity: Float): FloatArray {
    return when {
        reflectivity <= 0 -> {
            floatArrayOf(0.0f, 0.0f, 0.0f)
        }
        reflectivity < 10 -> {
            floatArrayOf(1.0f, 1.0f, 0.0f)
        }
        reflectivity < 15 -> {
            floatArrayOf(1.0f, 0.0f, 1.0f)
        }
        reflectivity < 20 -> {
            floatArrayOf(0.0f, 0.0f, 1.0f)
        }
        reflectivity < 25 -> {
            floatArrayOf(.5f, 1.0f, 0.0f)
        }
        reflectivity < 30 -> {
            floatArrayOf(0.0f, 1.0f, 0.0f)
        }
        reflectivity < 35 -> {
            floatArrayOf(0.0f, 1.0f, 1.0f)
        }
        else -> {
            floatArrayOf(1.0f, .2f, .2f)
        }
    }
}
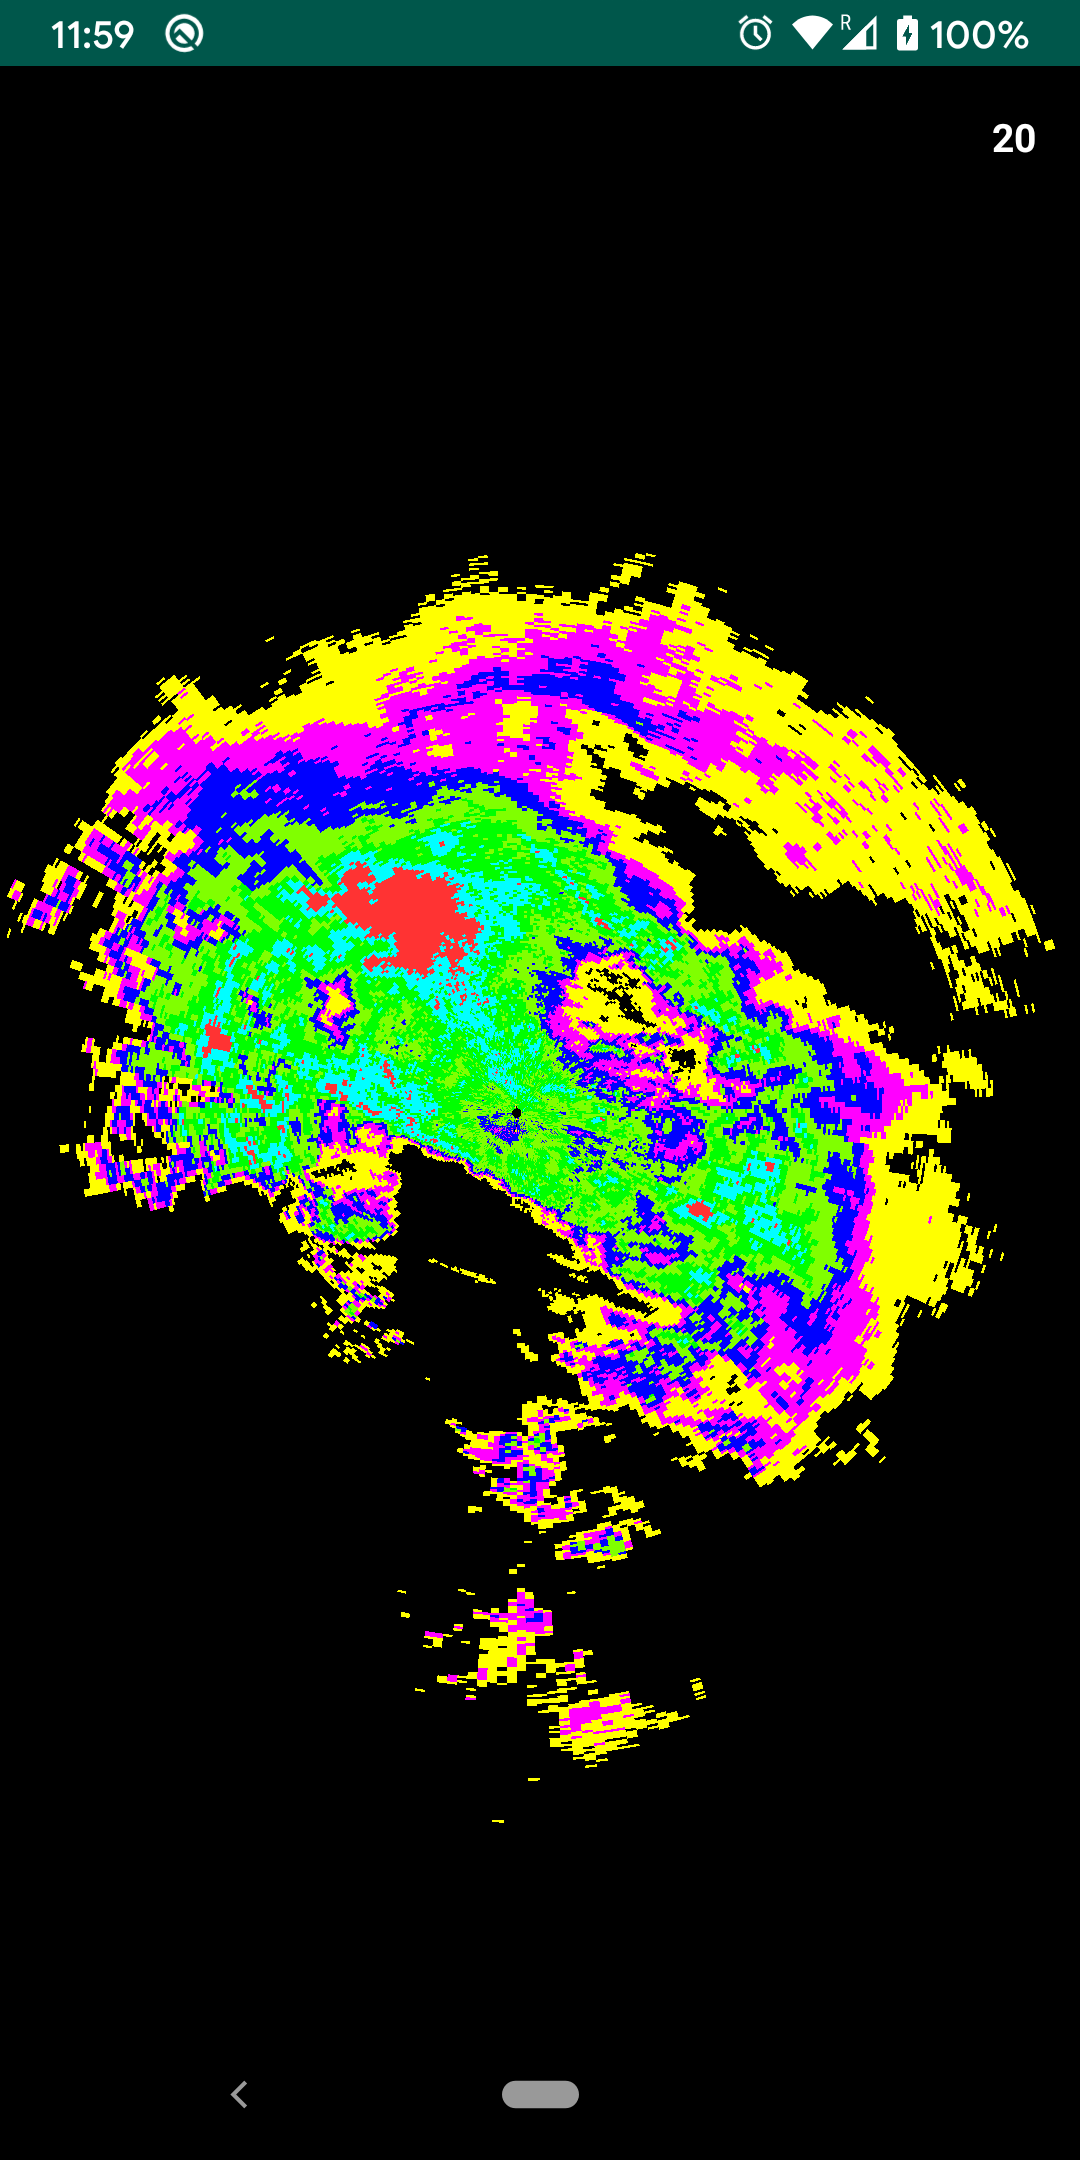
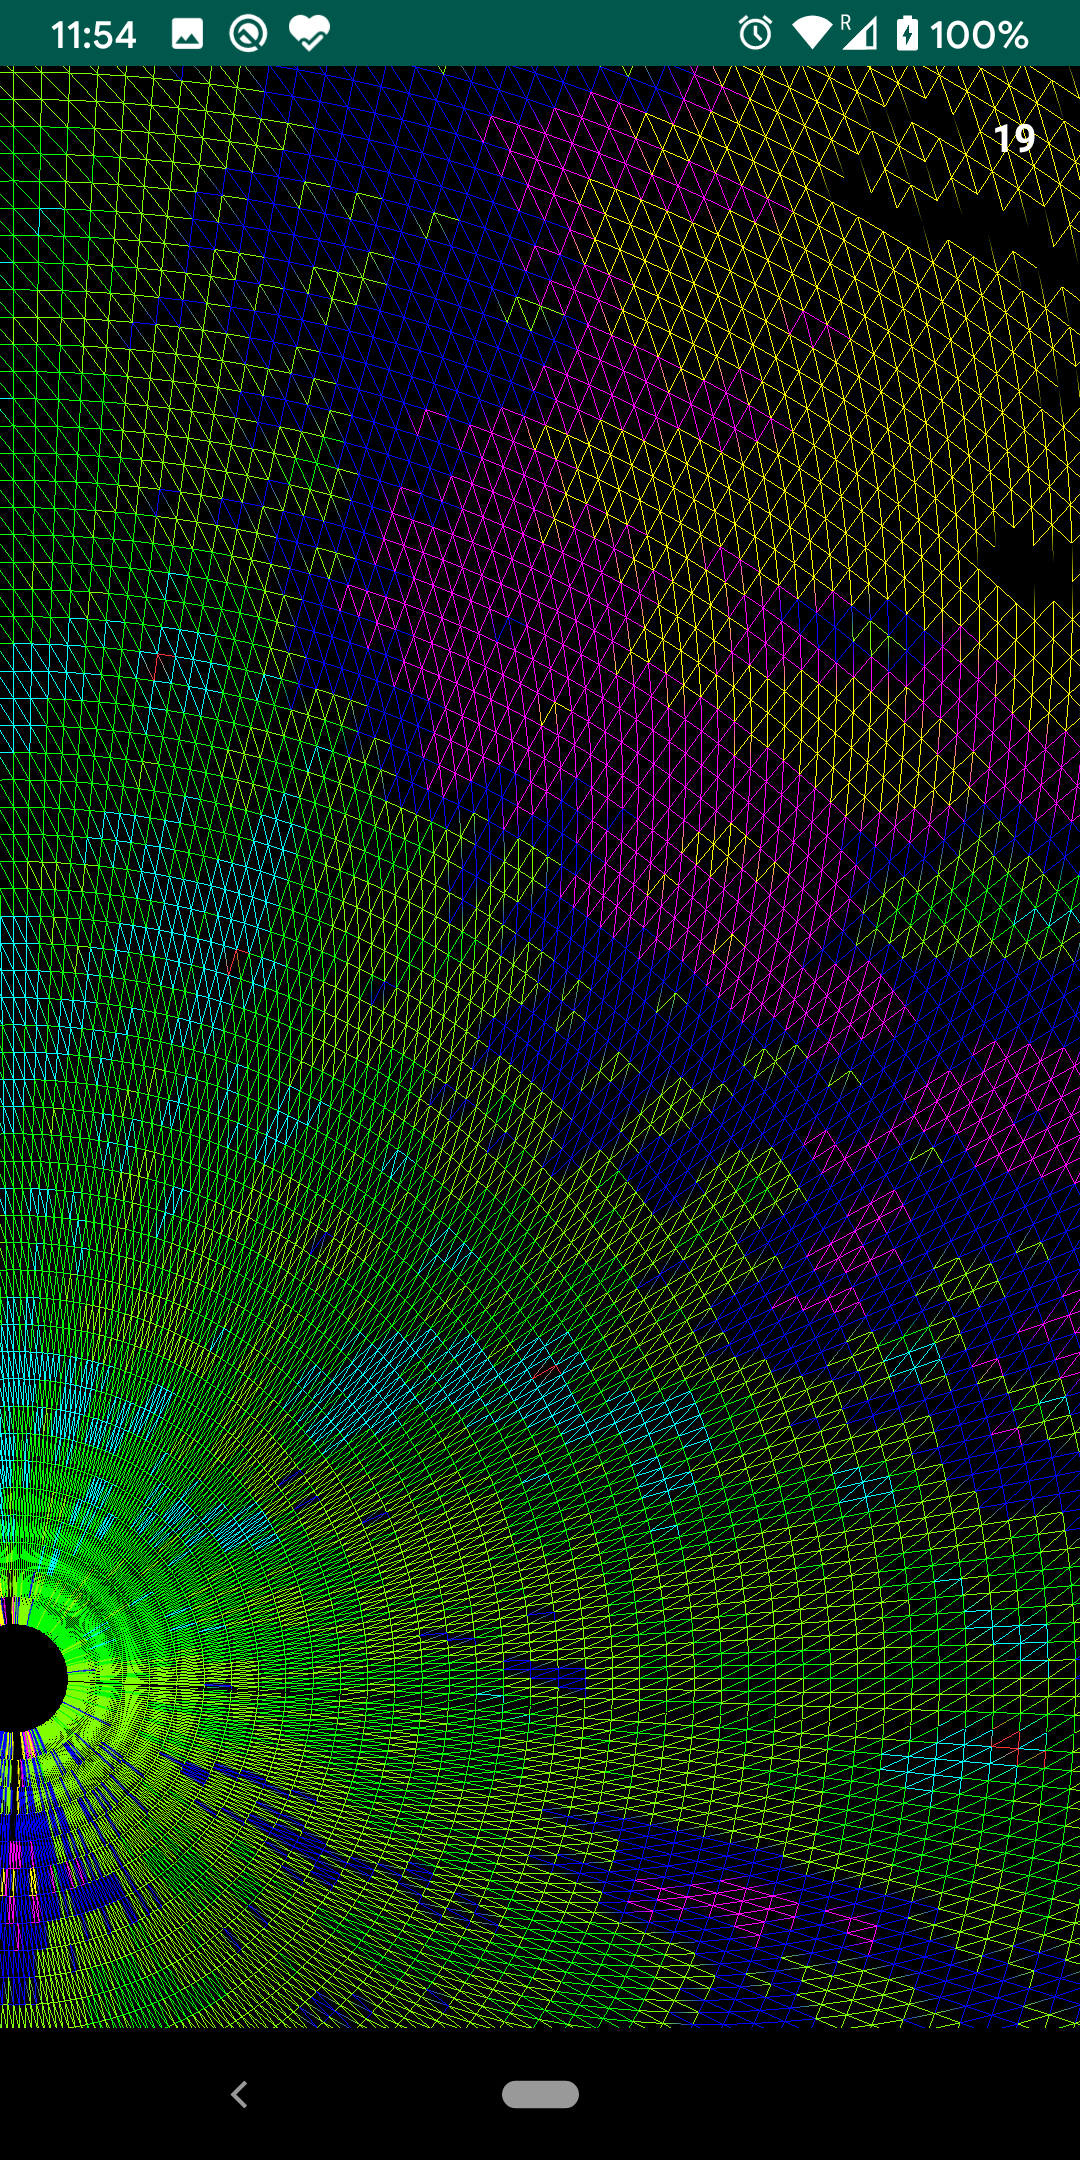
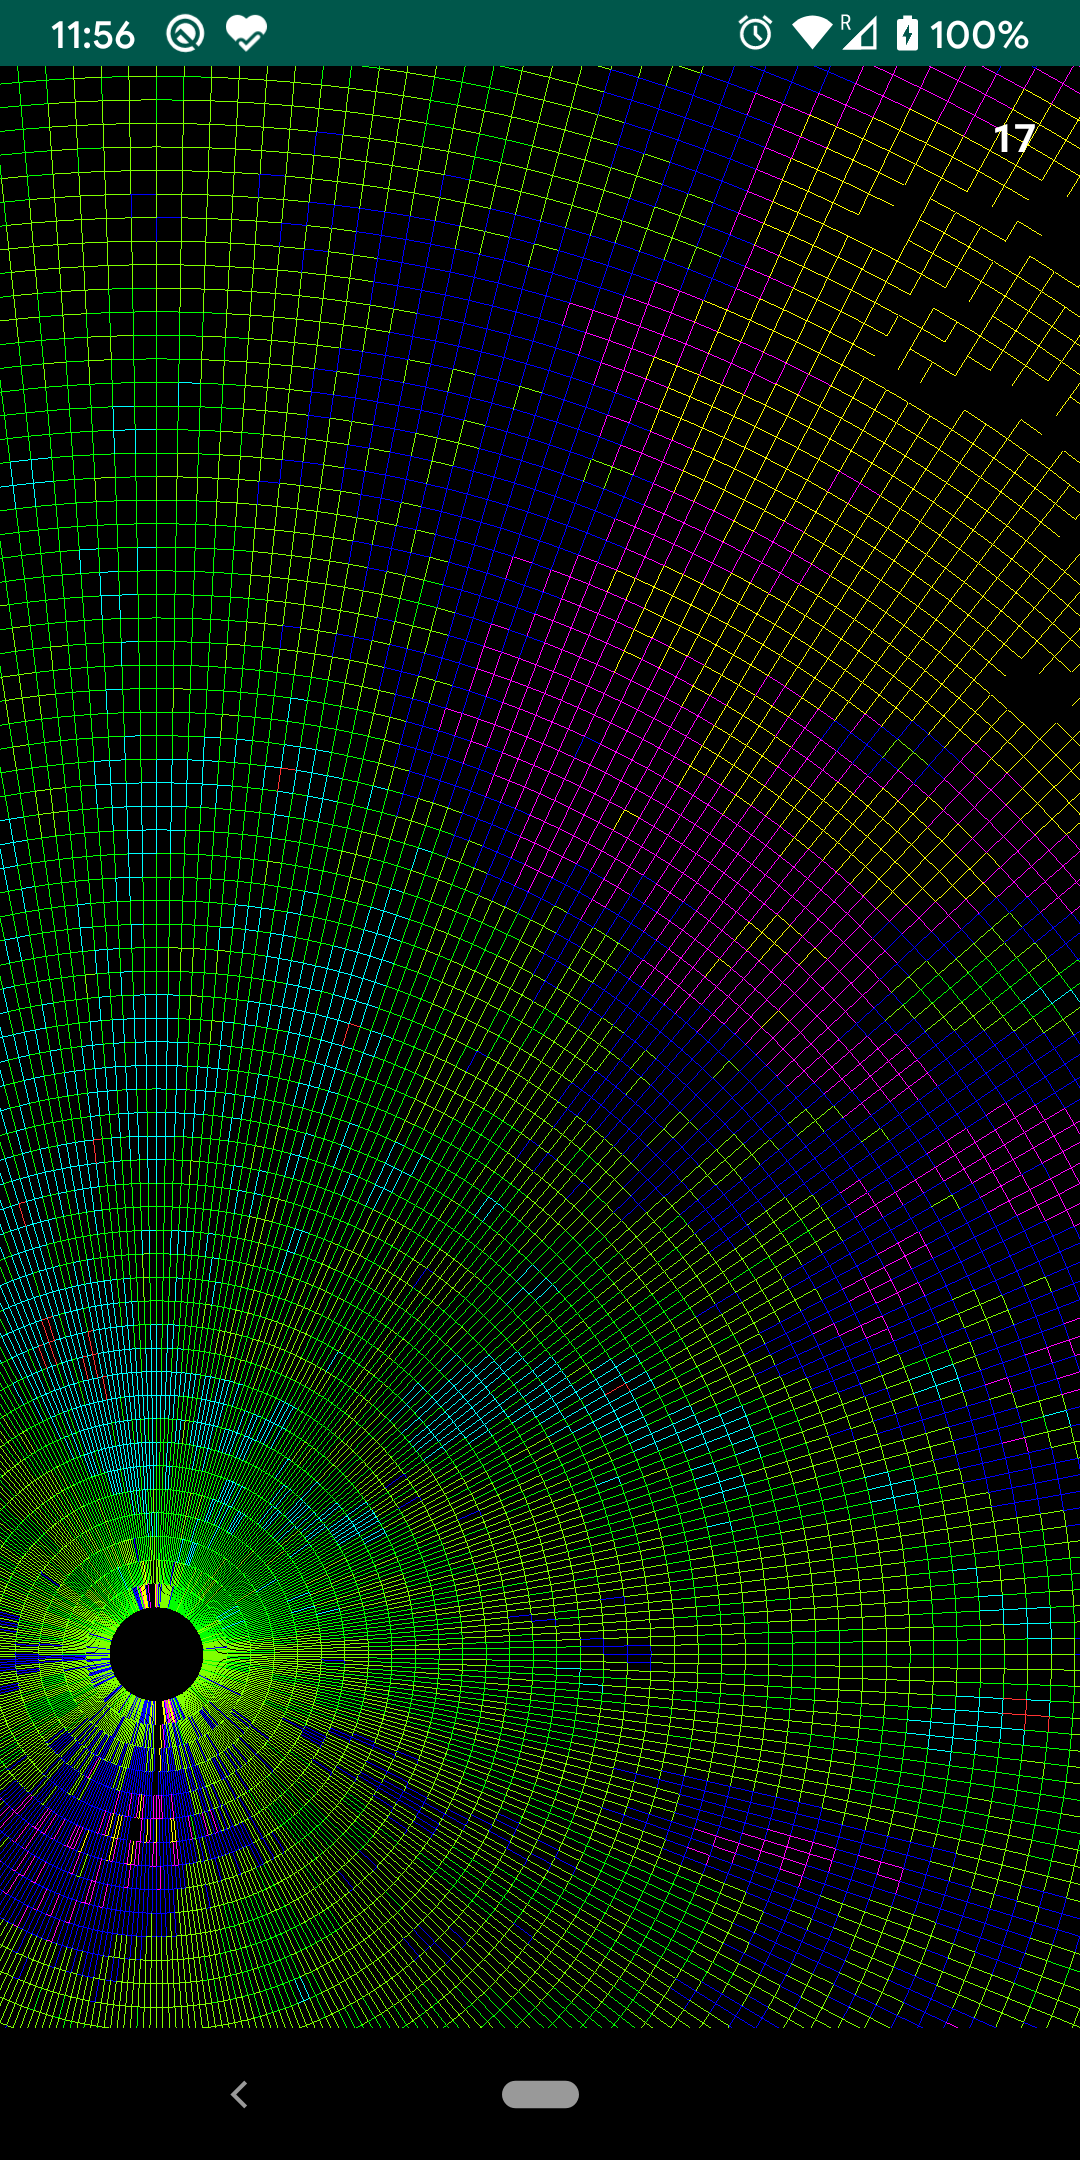
Now its a matter of looping through a 2D array and fill in our FloatArray with vertex information triangle by triangle. generateVertexData() method exactly does that. For each gate we loop on all azimuth values and keep on creating triangles. Our draw() method still looks more or less similar to what it was in the case of Triangles, we just keep on passing this buffer to GPU per frame. Here is how to render is looking right now with different GL_DRAW_MODE values
 |
 |
 |
Here is complete changeset since the last article on Github.
Since the render looks good it’s probably a good time to attempt the l2 dataset. All we need to do is change the resource file here and hit run.
To not so surprise app crashes without even showing anything on the screen. I get a Fatal signal 11 (SIGSEGV) native crash. This is probably because there is just too much data to handle with the L2 file. To calculate we need a FloatArray of size 1862 x 720 x 6 x 6 i.e. 48.2mn elements. Which requires ~185MB of allocation space in memory at-least. Also, just rendering is not enough we want to render this with 60FPS. Our current FPS is capped to ~20 as is evident from the images above.
This also means its time for the fun stuff. In the next article, we will see what optimizations we can apply to reduce data while maintaining render quality. We will also look into some advanced(or not so advanced but better) OpenGL techniques which can help in increasing frame rates further.